ChatGPT Ads
Connecting ChatGPT Ads lets Flowfy send every purchase, add-to-cart and page view from your store straight to OpenAI's servers, so your ad reporting reflects sales the browser pixel never saw.
Watch the ChatGPT Ads setup walkthrough
Before you start
- Access to ChatGPT Ads Manager at ads.openai.com
- A Flowfy source already connected. If you have not done that, start with Getting started.
You will end up with two values: a Pixel ID and a Conversions API Key. Both live under Conversions, but they are created in two different places on that page.
Settings › API Keys — that is the Ads Management key, and it is rejected on every event. Part 2 shows the right one.Part 1 · Create your data source
1. Open Conversions
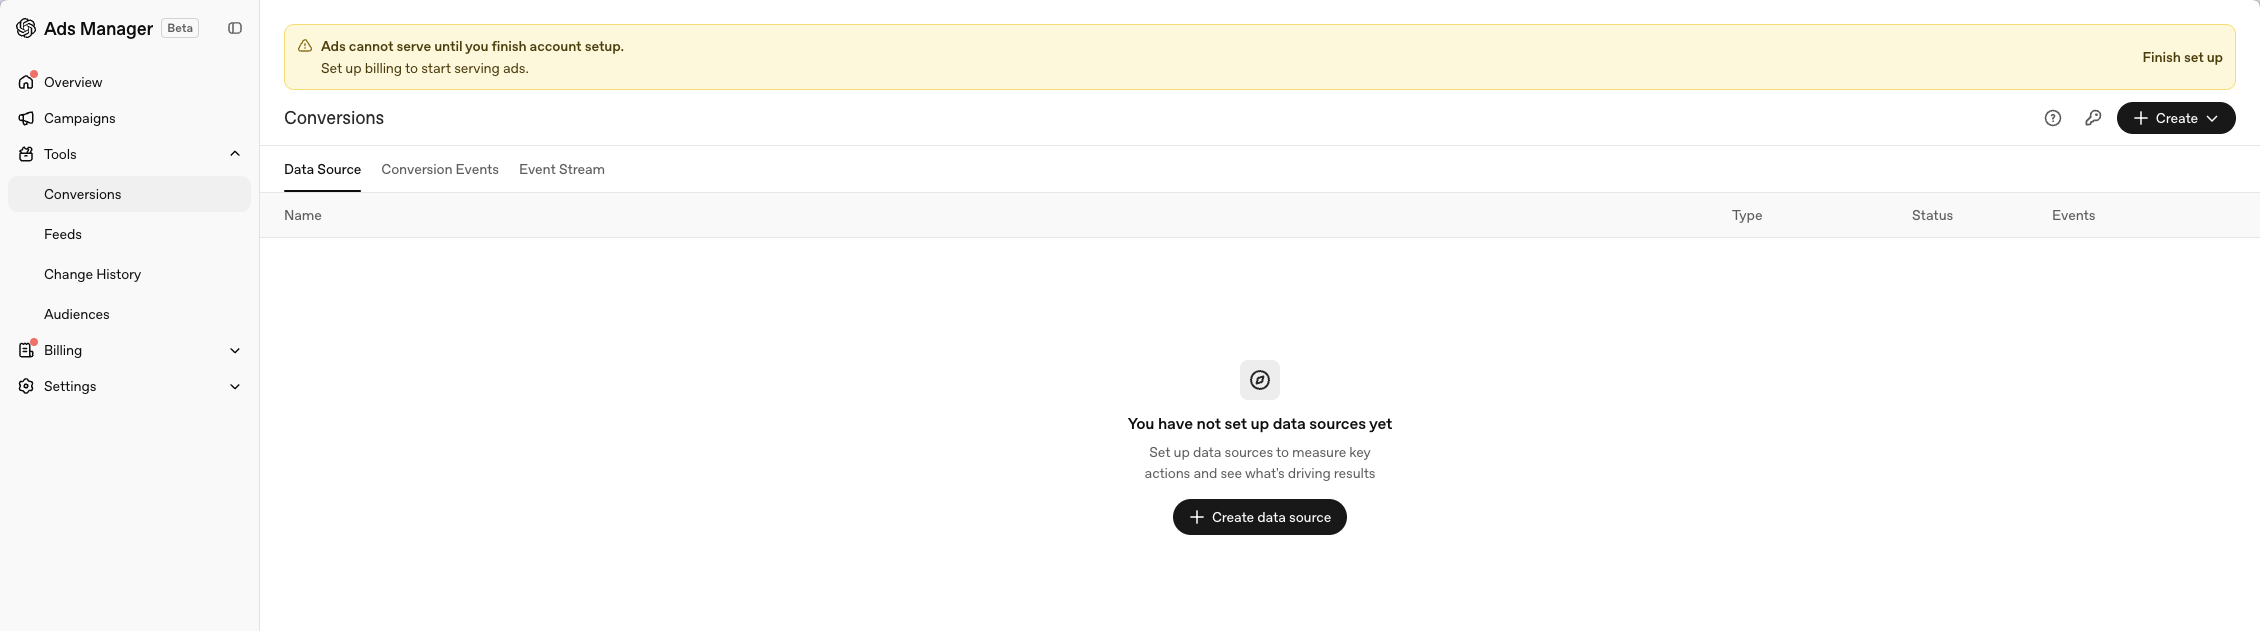
In Ads Manager, open Tools in the left menu and choose Conversions. If you have never set one up, the page is empty.
2. Create a data source
Click + Create data source (or + Create › Data Source in the top-right once you already have one). Give it a name you will recognise — the name is for you, nothing depends on it.
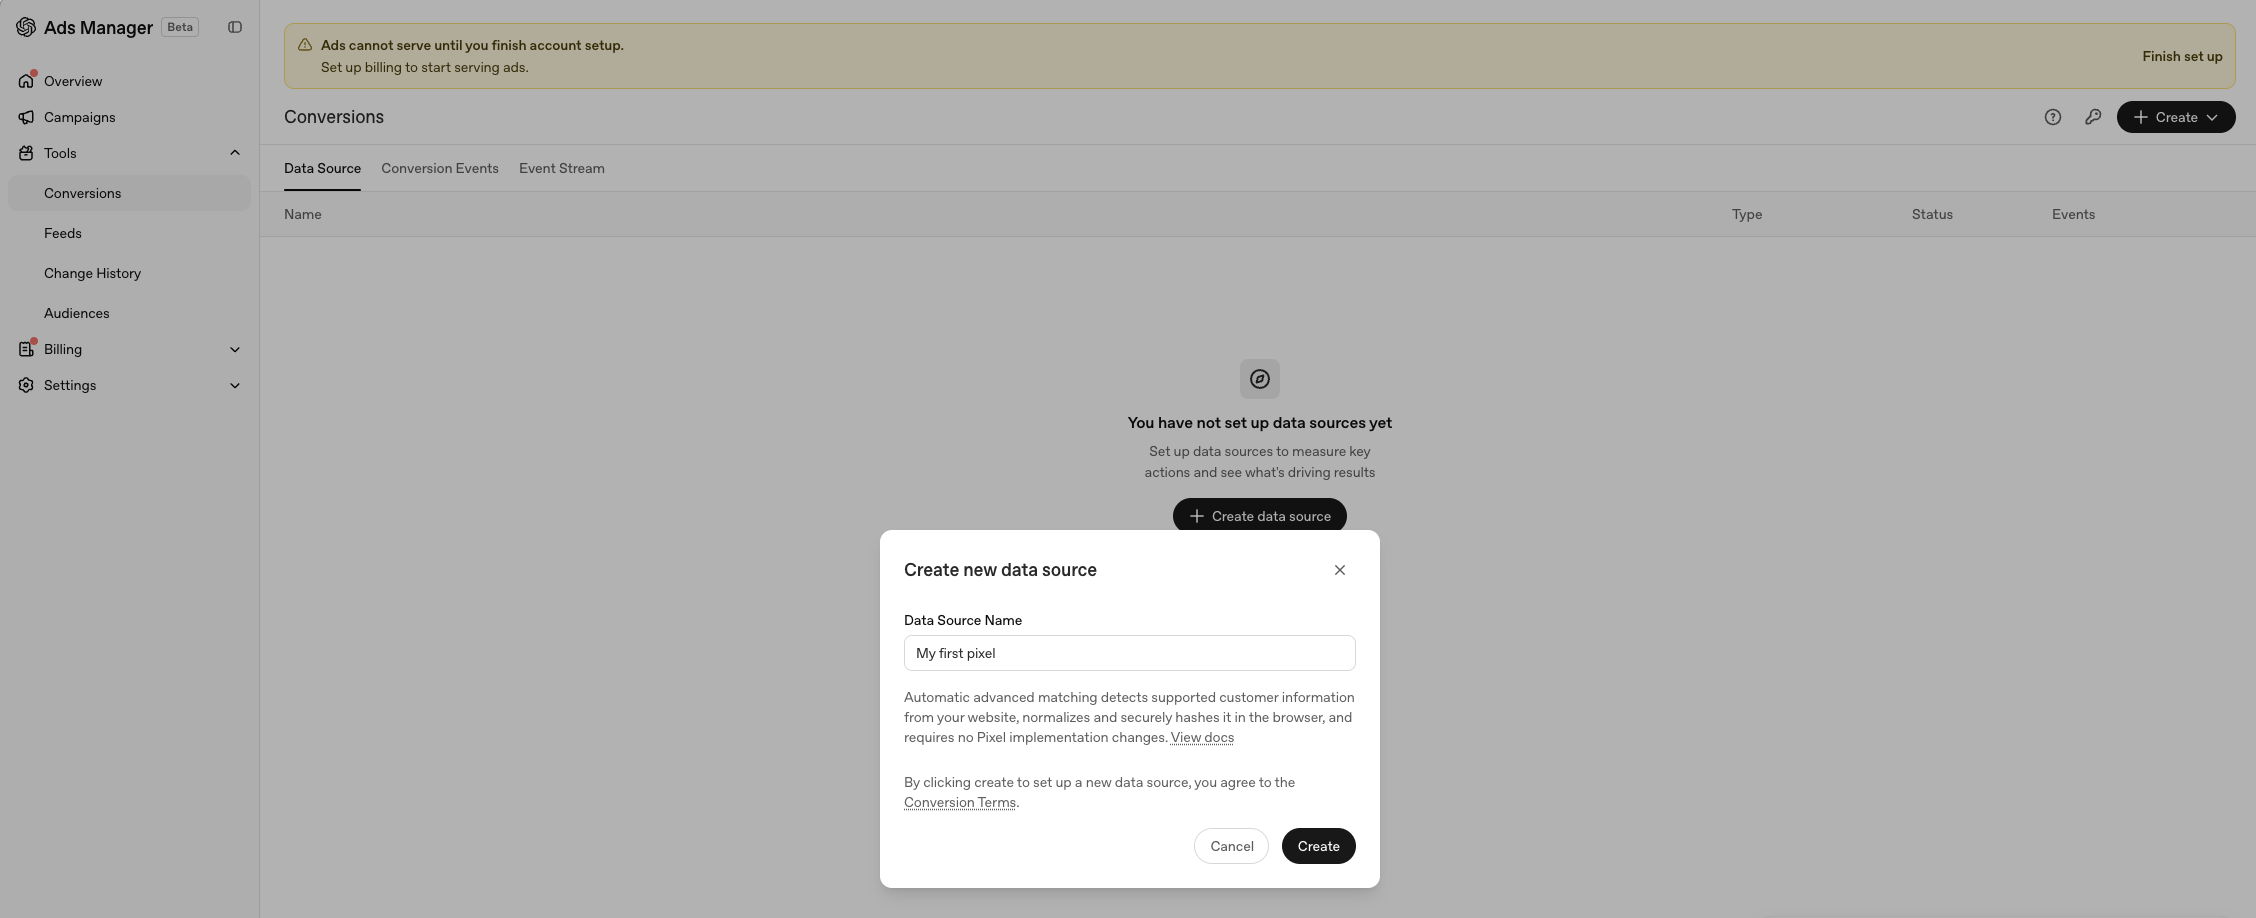
Your Pixel ID is generated automatically when you click Create.
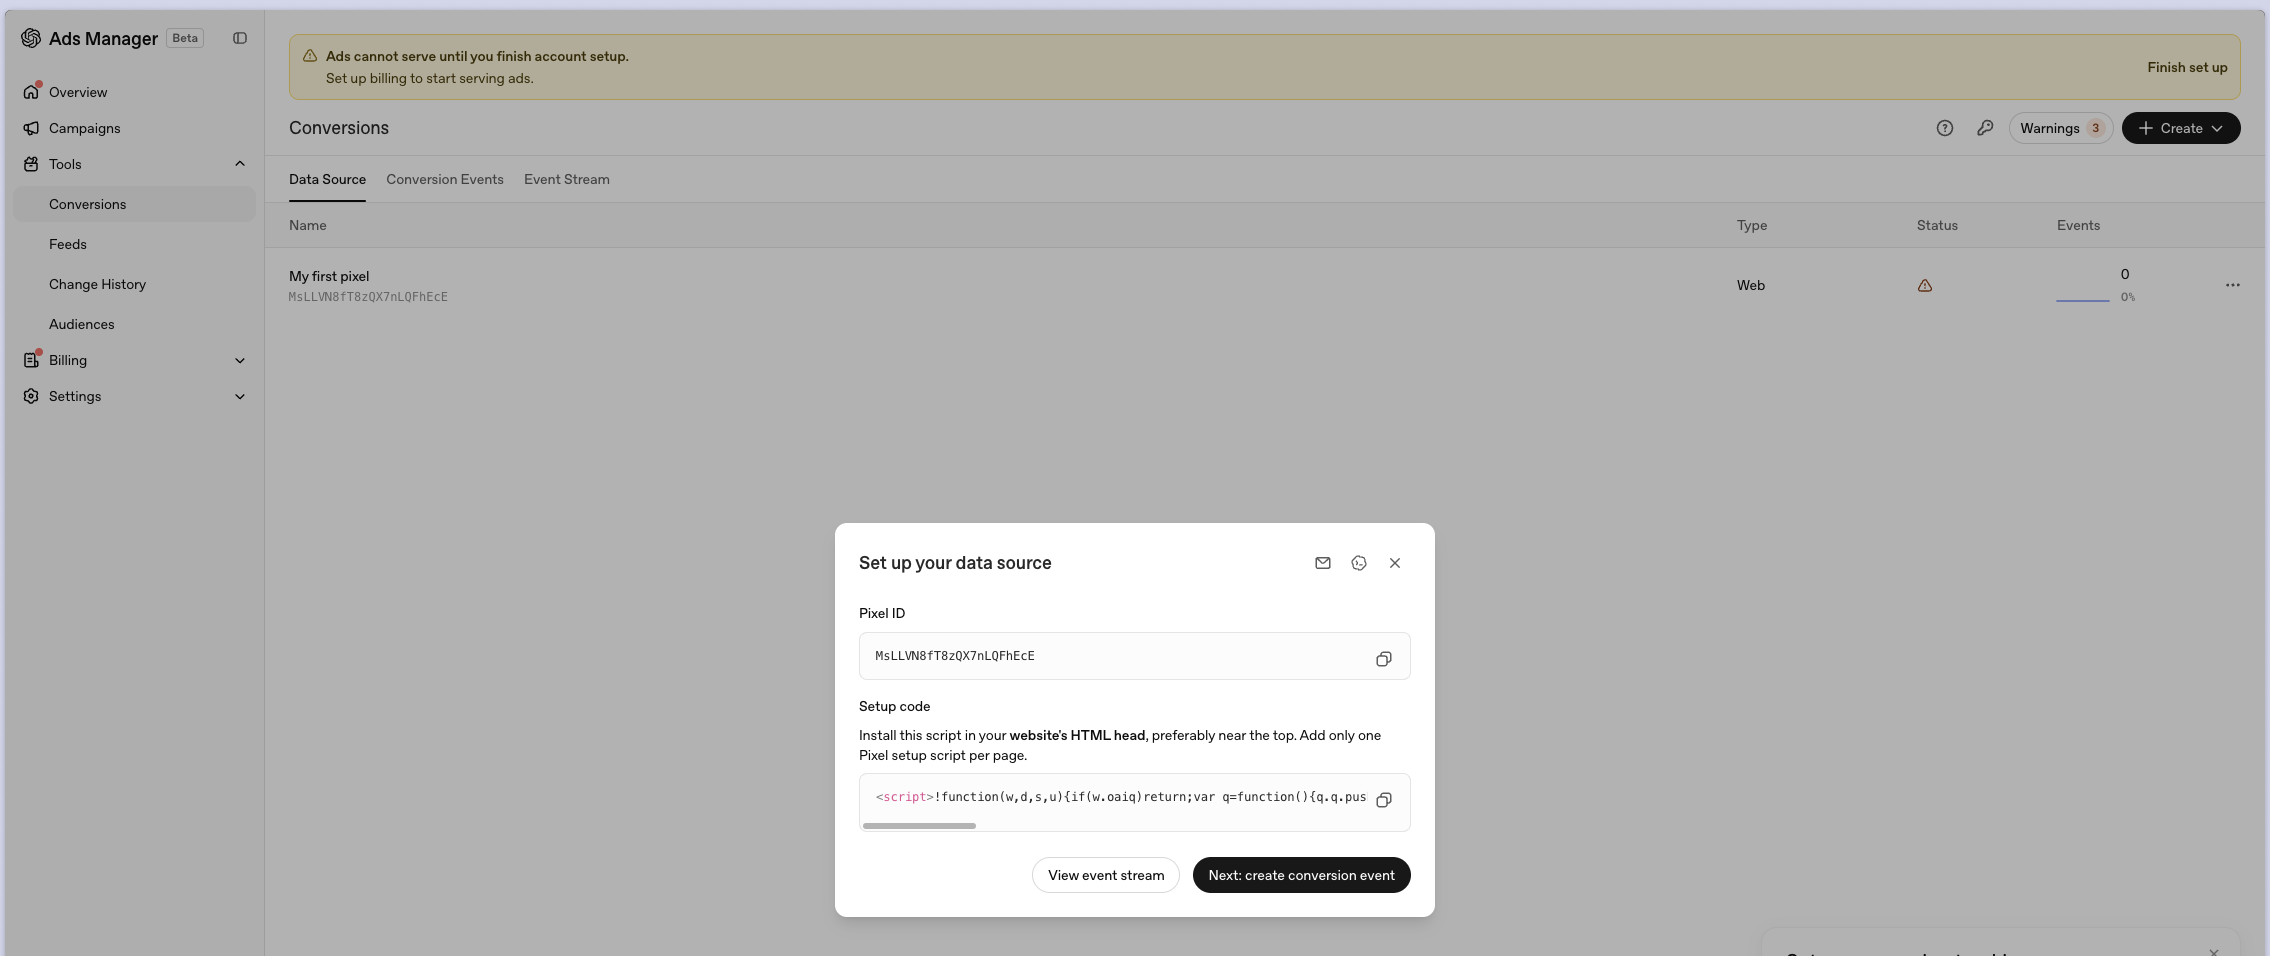
3. Copy the Pixel ID
Open the data source you just made. The Set up your data source panel shows the Pixel ID with a copy button beside it — a 22-character string like MsLLVN8fT8zQX7nLQFhEcE.
You do not need to install the setup code shown underneath. Flowfy sends events from its own servers, and that is enough on its own.
Part 2 · Get the Conversions API key
1. Open Conversion keys
Back on the Conversions page, use the key icon in the top-right (Conversion keys) and create a key there. Copy it as soon as it appears.
2. Do not use Settings › API Keys
This is where most setups go wrong. Settings › API Keys also has a Create New Key button, and the key it produces looks perfectly valid — but OpenAI says in the dialog itself that it grants Ads Management API access only:
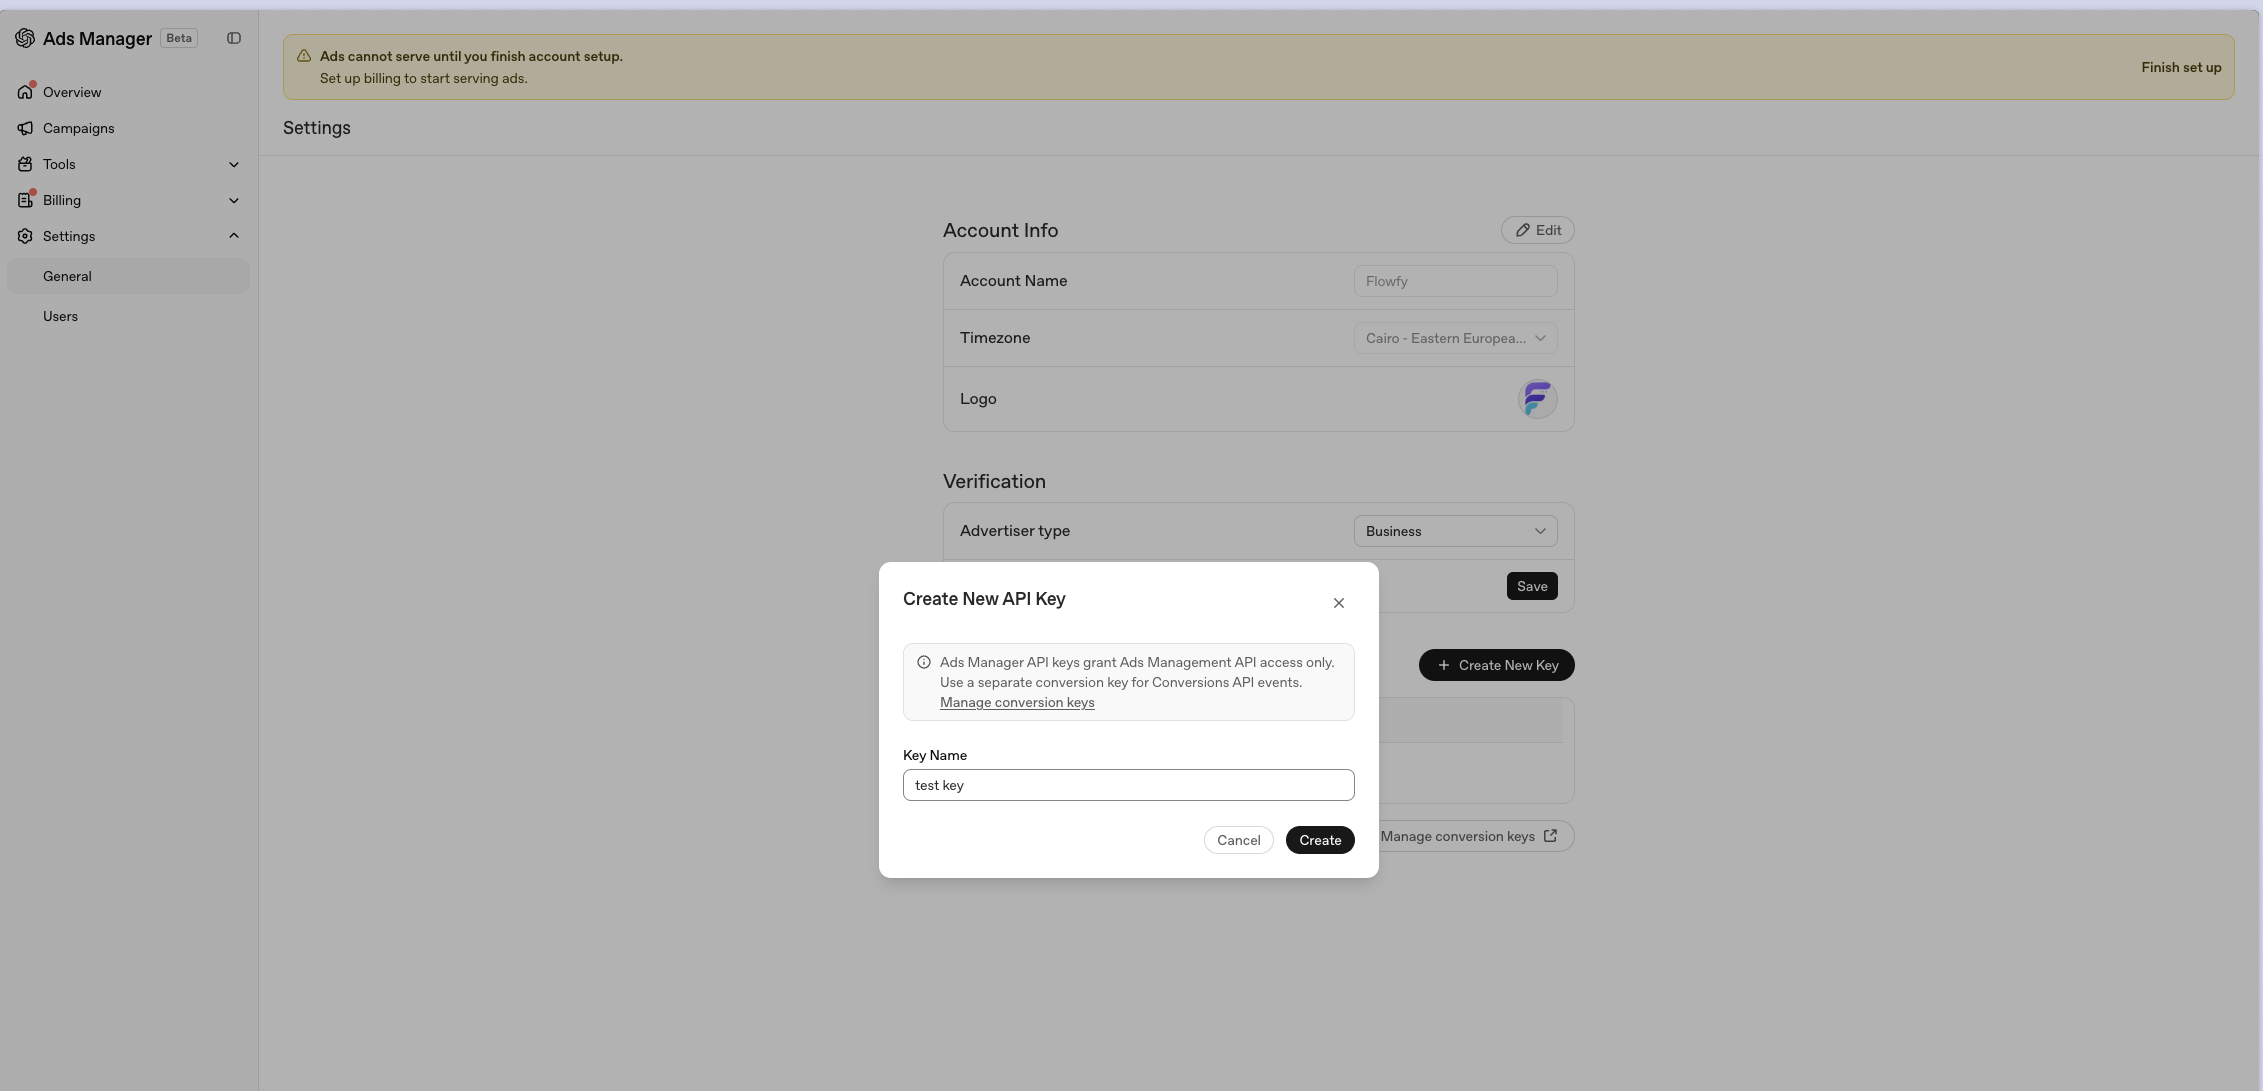
A key from there starts with sk-svcacct-. OpenAI will not accept events sent with it, so the destination saves but never delivers — and Flowfy reports the key as invalid the moment OpenAI says so. If your events are not arriving, check which of the two keys you pasted.
Part 3 · Create the destination in Flowfy
1. Start a new destination
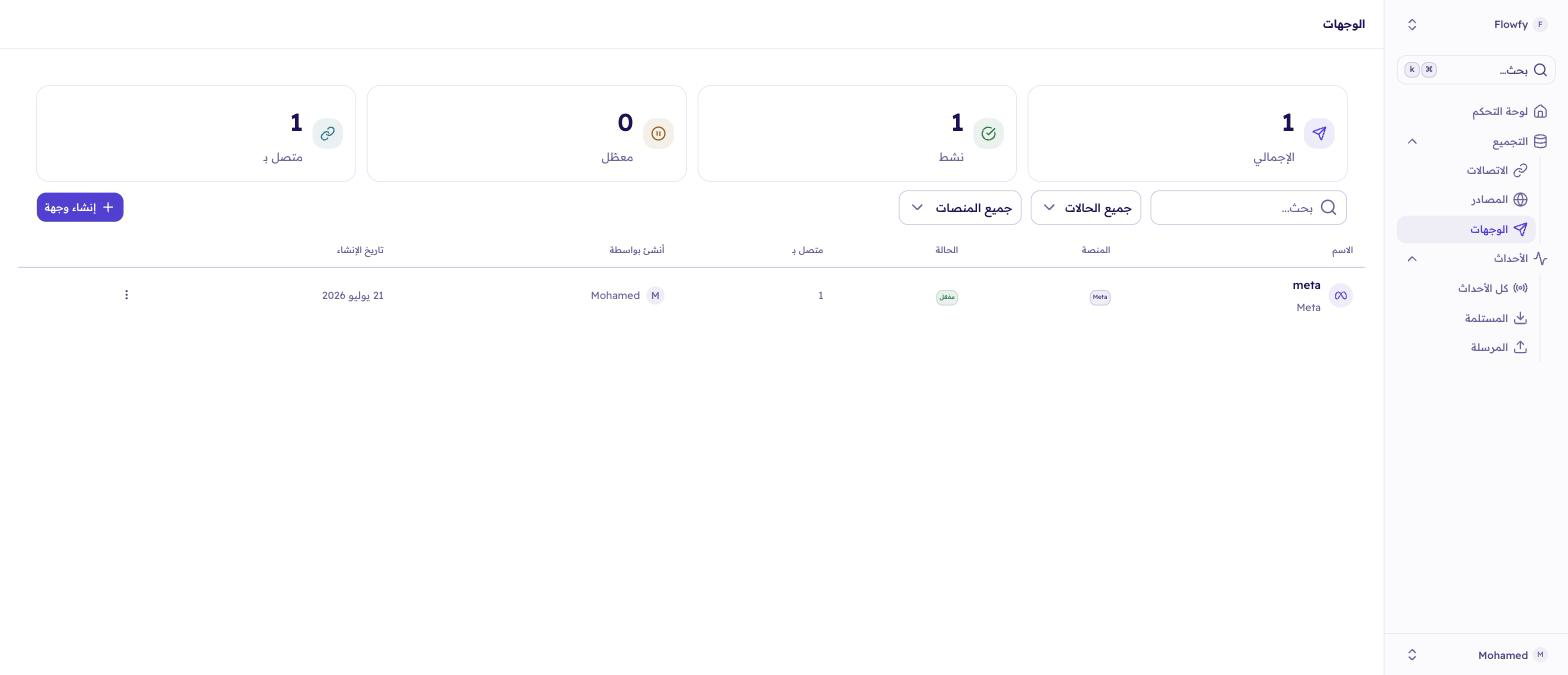
In Flowfy, open Destinations and click Create destination.
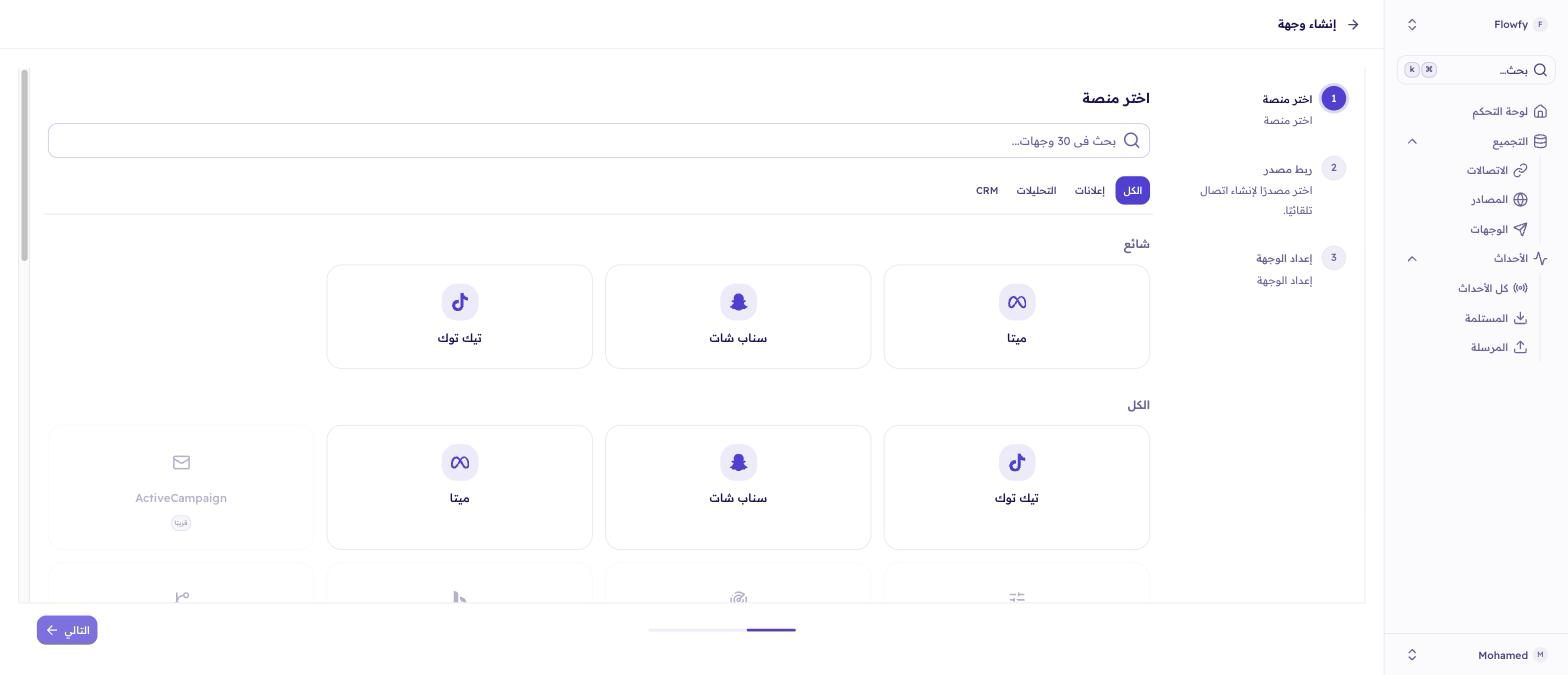
2. Choose ChatGPT Ads
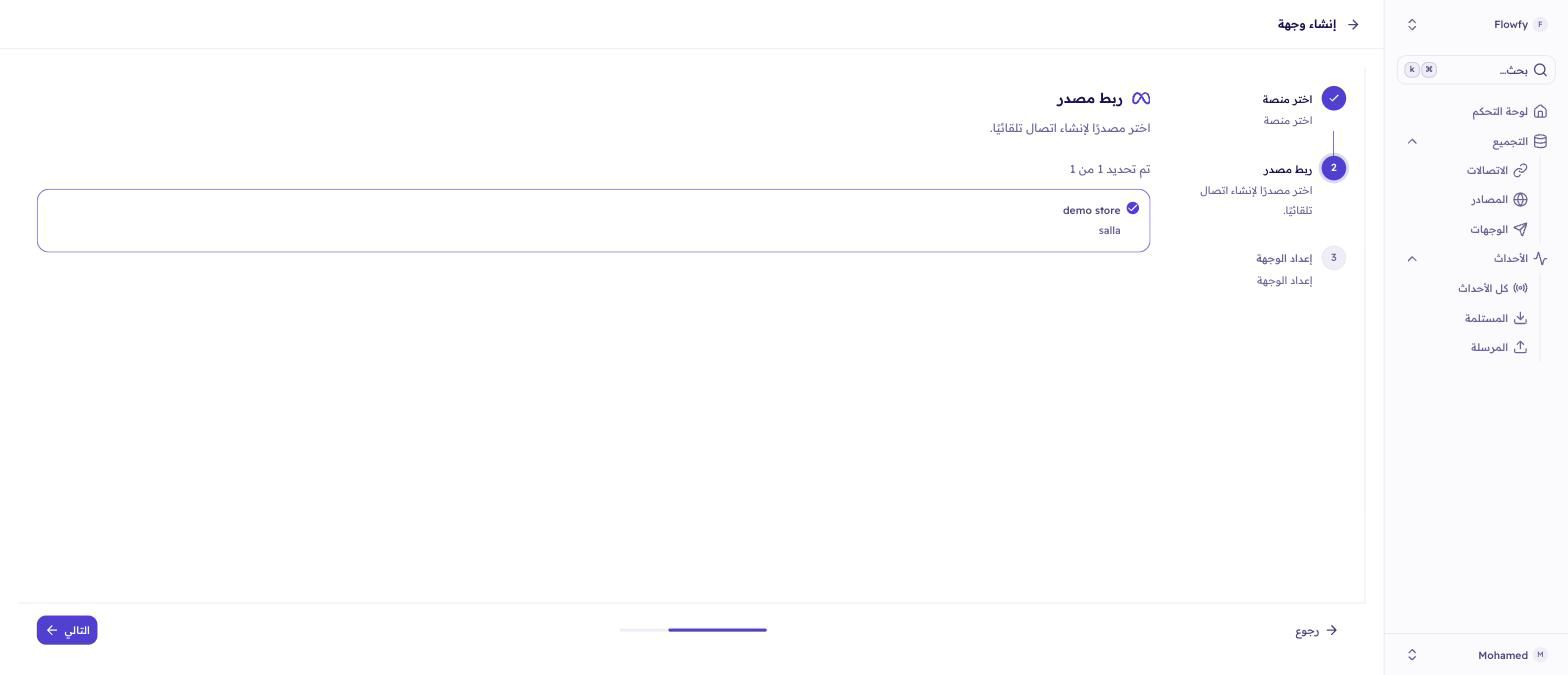
3. Connect your store
Tick the source whose events should flow to ChatGPT Ads, then continue.
4. Paste both values
Put the Pixel ID from Part 1 into Pixel ID, and the key from Part 2 into Conversions API Key. Then click Create.
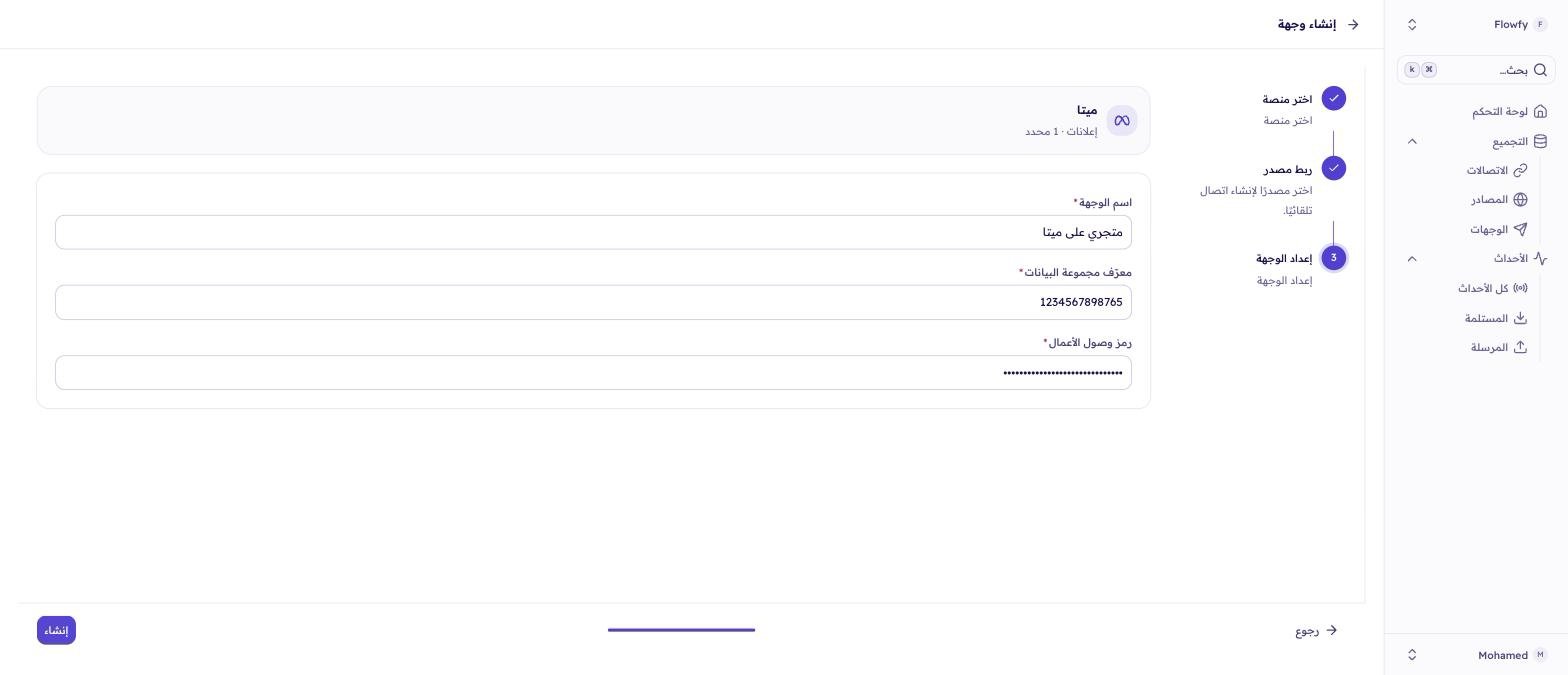
Flowfy verifies both values before saving. That check is completely inert: OpenAI can validate a batch without recording it, so verifying costs you no phantom conversion.
Part 4 · Check that it's working
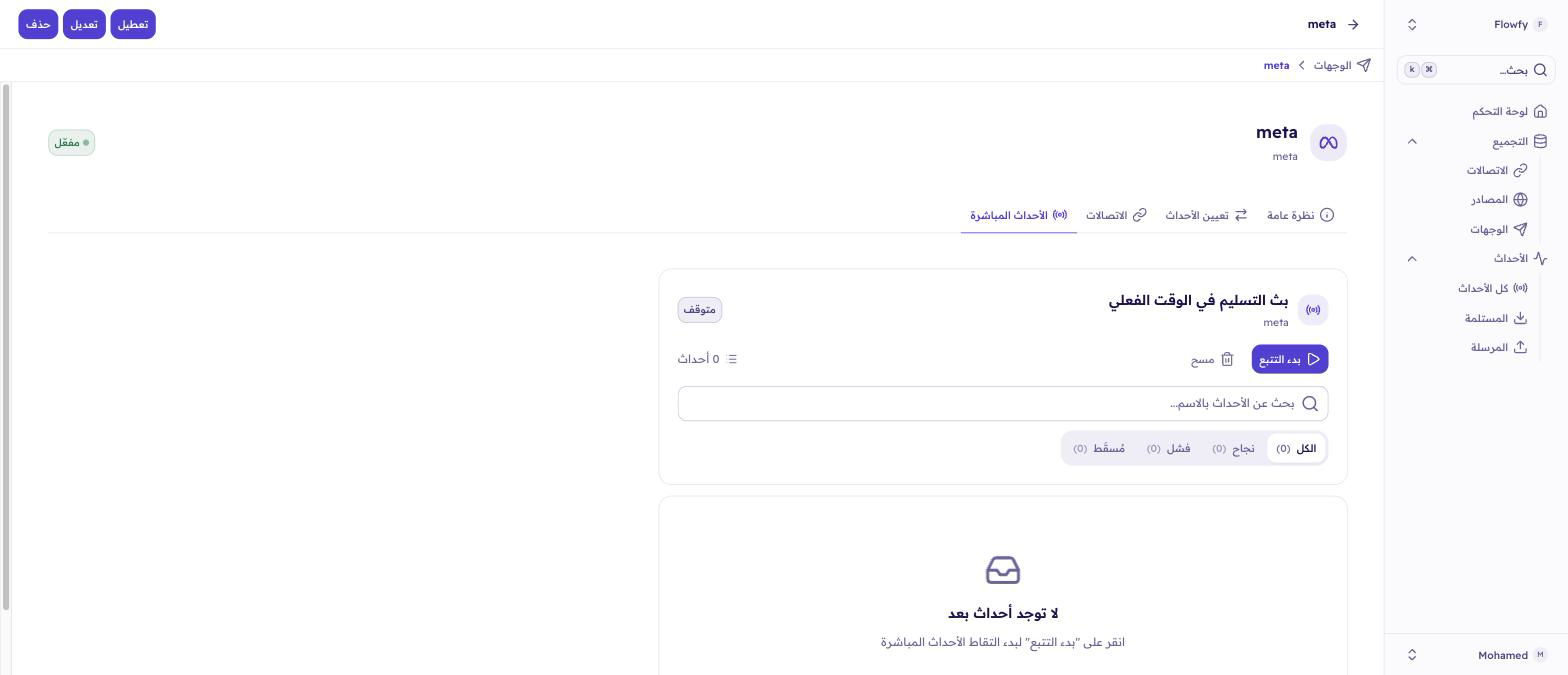
Place a test order, then open the destination in Flowfy and watch Live events. The order should appear within seconds.
On OpenAI's side, open the Event Stream tab on the Conversions page and look for the event arriving.
What gets sent
Flowfy translates your store's events into ChatGPT Ads event names automatically:
| Your store event | ChatGPT Ads event |
|---|---|
| Page View | page_viewed |
| Product Viewed | contents_viewed |
| Product List Viewed | contents_viewed |
| Product Added | items_added |
| Checkout Started | checkout_started |
| Order Completed | order_created |
| Sign Up | registration_completed |
| Reserve | appointment_scheduled |
| Subscribe | subscription_created |
| Start Trial | trial_started |
| App Open | app_opened |
Anything outside that list is sent as a custom event, named after your event in lowercase with punctuation replaced by underscores. OpenAI only accepts Latin letters, digits, _ and - in an event name, so a name written entirely in Arabic leaves nothing to keep. Rather than drop the conversion, Flowfy sends it under a generated custom_ name that stays the same for that event forever. The sale still counts; it just appears in Ads Manager under the generated name. Give an event a Latin name if you want to recognise it there. If your store already uses ChatGPT Ads names such as lead_created, those pass through unchanged.
A few events are dropped rather than sent: anything older than seven days, and a web event with no page URL. OpenAI rejects a whole batch over one bad event, so Flowfy removes those first.
You can override any mapping under Event Mappings on the destination, but the target has to be one of the ChatGPT Ads event names above, or lead_created, app_installed or custom. An override to anything else is ignored and the default mapping is used.
Order values are converted into the unit OpenAI expects for your currency, so SAR, USD, KWD and JPY totals all report correctly without you configuring anything.
If something goes wrong
Flowfy says the API key is invalid. The most common cause is a key from Settings › API Keys instead of Conversion keys. A key starting sk-svcacct- is always the wrong one.
Flowfy says the key has no access to that Pixel ID. The key and the data source belong to different accounts. Create the key from the same account that owns the pixel.
Nothing arrives in Flowfy's live events. The problem is between your store and Flowfy, not Flowfy and OpenAI. Check that your source is connected and active.
Sales are counted twice. You are running the browser pixel and Flowfy together. A matching Pixel ID is necessary but not sufficient — OpenAI de-duplicates on the Pixel ID and the event id, and Flowfy does not yet coordinate event ids with the stock pixel. Until it does, run one or the other.
Older orders never arrive. OpenAI refuses events more than seven days old, so Flowfy drops them rather than sending a batch that would be rejected whole. Only a backlog longer than a week is affected.